Bed and Bedding

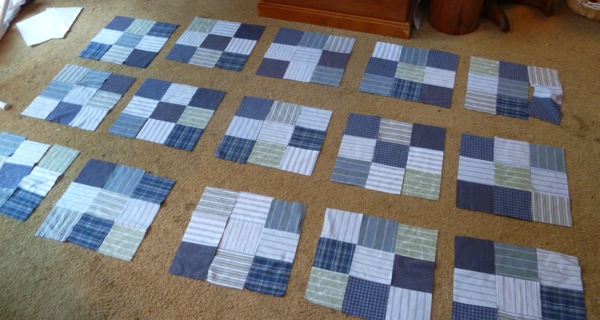
It started with wanting to make another quilt, one for my youngest son. I wanted to up-cycle materials, and wanted to make something boyish but not babyish, something that would last.  I went looking at the thrift store and came home with bags of 100% cotton mens’ shirts. Lots of variety of pattern and shades, but all blues and whites and some greens. A bunch of simple 9-patches later….

P1010975

And then some wool batting and a cream queen-sized flannel sheet that didn’t fit any bed we still owned….

P1040804

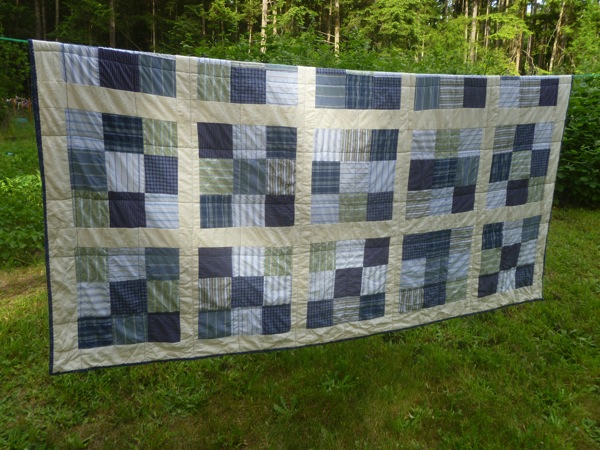
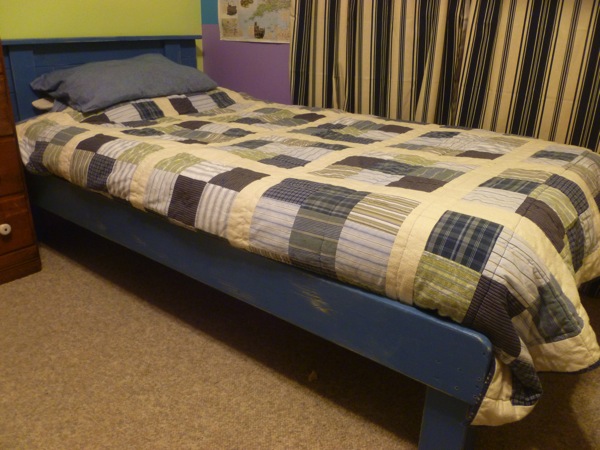
And there was a quilt!  It’s really soft and warm and cozy.

P1030993

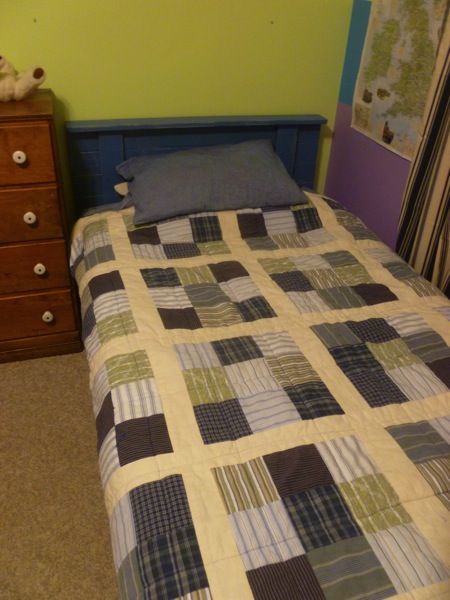
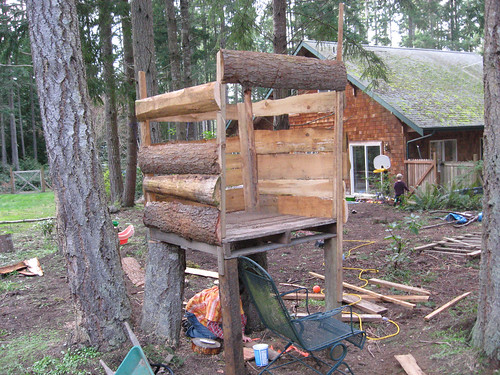
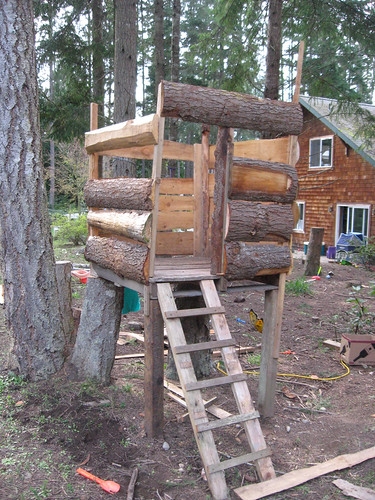
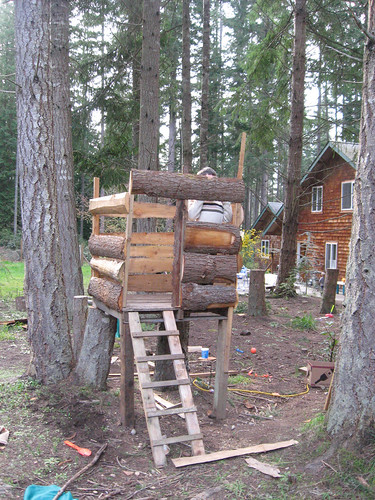
And somehow, once he had his own quilt, then he needed his own bed too. We built the bed ourselves, using plans from Ana White as a starting point but sort of going off on our own and I painted it (and scuffed it).  I like it better than the beds we bought for the older two. 

P1030994

Dining Table and Bench

We built a table! We wanted a new one, lighter colored and longer for our space. So we made it. Starting with plans from Ana White for inspiration, then making it our own design.  It’s simple, sturdy, solid, and long. Did I say long? It’s 8 feet long. We can fit 4 people on a side without being too squished.

2MG 23534 pt

Good for hiding under. Those legs are 4x4s.

2MG 23532 pt

And for climbing on? Well, it’s new. They were exploring.

2MG 23539 pt

Nice big screws that hold the legs on. The legs can be taken off for moving if necessary.

2MG 23592 pt

I found some new chairs at the thrift store, and at this point had sanded and painted and polycrylic’d one chair.

P1020489

Two more chairs done. They’re sort of “shabby chic” – meaning I painted and then sanded some off and scuffed them a bit. Then applied the polycrylic to give them some protection from further scuffing or staining. They’re easy to wipe clean.

2MG 23739 pt

And then Eric made a bench out of a huge chunk of cedar and some 4x4s. It fits one full side of the table and seats as many as want to squash on there – I think we could probably fit 6 kids for birthday cake.

This table gives us room to spread out for art projects or homeschooling, and we can push projects aside and still have space to eat lunch if we need to.

The StumpHouse

We don’t have good trees for easy treehouse building — they’re all pines and firs, straight and tall. But last year, we had some trees taken down and we had the stumps left at about 4 feet tall. For no reason at the time, except that we might want them.

Two of them were conveniently close together and close to the kids’ sandpit and the trees where we’re going to hang swings once we get a crossbar up. After looking at them for a few months, and finding one good solid pallet left over from building the woodshed, I had a plan. The first time Eric got out his chainsaw this year, I had him level them off.

And then I built a treehouse. Except, because it’s not on an actual tree, but on stumps, it has now become known as The StumpHouse. Because my children are literalists.

IMG_7858

The posts supporting the other corners are from a fence that used to surround the front patio, and which my parents tore out last fall during a visit.

IMG_8041

The siding is made of the outside edges of milled trees which we got free from a friend who had had a bunch of trees cleared and milled on her property about a year ago.

IMG_7860

The ladder is made from more parts of that fence from the front patio.

IMG_8148

It’s not huge, and it’s not quite finished, but I think the boys will have fun with it for a while. It’s probably big enough for 3 or 4 kids.

IMG_8151

So now it just needs a roof! Having made the entire thing from stuff we had on hand (the only thing I bought was more screws), I don’t want to pay for roofing. We’ll be on the lookout for scraps of something that we can recycle.